
Summons make for an important element of many Final Fantasy games and Crisis Core: Final Fantasy VII reunion is no different. However not all of these summons are easy to get and some can easily be missed. (A bit like the Magic Pots Summon)
If you’re looking to get 100% completion, you need to make sure you get all of the DMW summons.
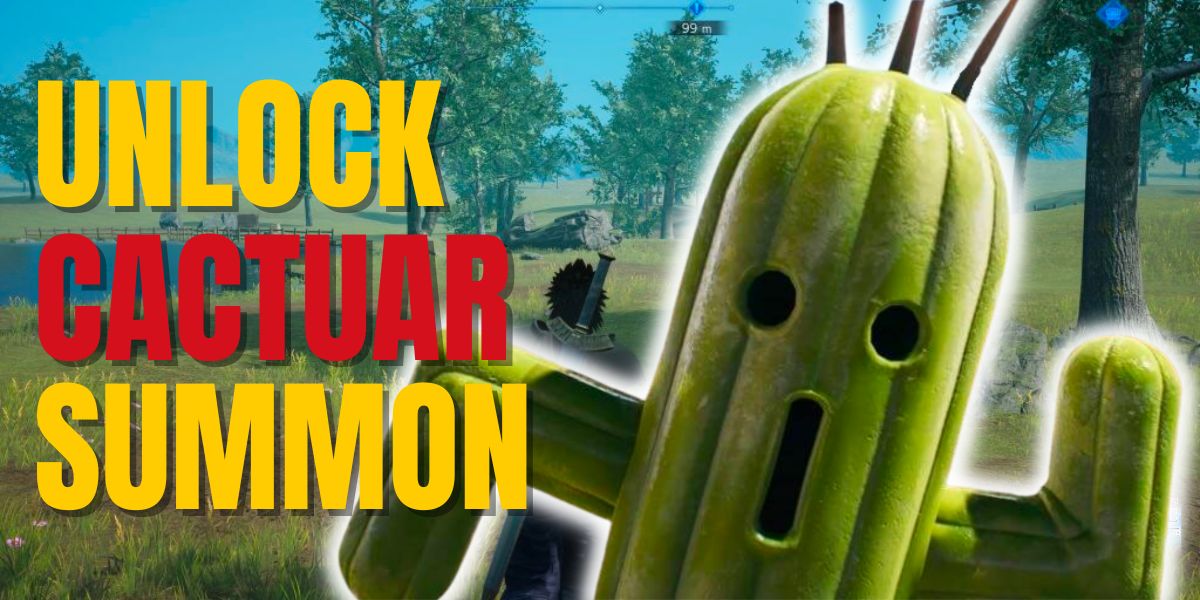
In this guide, I’m going to show you how to get the Cactuar summon in Crisis Core Final Fantasy 7 Reunion.
Table of Contents
Step By Step on How To get Cactuar Summon In Crisis Core
If you’re looking to learn how to get the Cactuar summon in Crisis Core FF7 Reunion, below is a quick step by step.
- Get To Chapter 4
- Unlock Mission 3-1-3
- Defeat Optional Kactuar Enemy Before Mission Boss
- Complete Mission 10-1-1
- Complete Mission 10-1-2
- Defeat Boss on Mission 10-1-3
What is Cactuar in Crisis Core Reunion
The Cactuar has made its appearance in most if not all Final Fantasy games over the years.
These were typically rare enemies that provided rare items or high amounts of experience.
Due to their size and speed, they’re often hard to hit. Plus their 1,000 needles ability can cause a lot of damage.
In Crisis Core you can even get Cactuar as a summon to cause damage to your opponents. In fact this DMW summon causes more damage than the fearful Tonberry.
It uses its 1,000 needles ability but actually hits an enemy eighteen times. Which can be one of the most damaging DMW summons if you roll a high level.
Where to Find Cactuar

The Cactuar summon is generally a really easy summon to get. However the problem is that it can also be easily missed. You can get this summon no matter what chapter you’re in, however you might not realize how to unlock it before you complete the game.
As soon as you get onto Chapter 4, you can unlock the Cactuar summon.
You need to complete Mission 10-1-1, 10-1-2 and 10-1-3.
Below, I’ll explain how to unlock these three missions.
How to Unlock Mission 10-1 in Crisis Core
As previously mentioned, if you want to unlock Mission 10-1-1 you need to be on Chapter 4 or later.
When you visit a save point for the first time in Chapter 4, you’ll unlock some side missions. The ones we want are “Genesis Forces”, which happens to be Mission 3.
Now the mission we want to unlock is Mission 3-1-3, this one is called “Eliminate The Copies”.
You can get access to this by completing Mission 3-1-1 and Mission 3-1-2. These are pretty easy missions.
Once you enter Mission 3-1-3, you want to go through the mission and collect any chests that you find. DO NOT go straight to the boss.
If you head to the dead end that’s to the east or right, you’ll find an optional boss. You can get to it easily by going right, head straight to the end and then go right again.
This optional boss is a “Kactuar”
These bosses are pretty easy to beat, depending on your equipment and your level.
Once you’ve beaten it, complete the mission by defeating the Genesis Copy boss.
By doing this you’ll unlock Mission 10-1: Cactoid Secrets”
How to Unlock the Cactuar Summon
To get the Cactuar Summon you need to complete the three missions in Mission 10-1. These missions are only 2 and 3 stars, so they’re pretty easy to complete.
You first need to go through Mission 10-1-1: Where’s the Cactuar? The boss of this mission is a Kactuar, so pretty easy to beat. Make sure you grab the chests and get the Muscle Belt as a reward.
Next you need to complete Mission 10-1-2: Kactuar?. This time the boss is three Kactuars, still fairly easy but watch out for their stun ability. The reward for completing this mission is a Champion Belt and you can even find a Cursed Ring.
The last mission is Mission 10-1-3: Cactuar Found?. You might come across some fights with Kactuars. The final boss is just a single Kactuar, however it is a little harder to fight. Once you defeat it, you’ll get the Cactus Thorn which unlocks the Cactuar summon.
Just be careful when you defeat the boss, as it dies it’ll do the 1000 needles attack. This could cause some serious damage if you’re at a very low level. So keep yourself healed up.
Mission 10-1 Walkthrough
The three missions are pretty easy to do and come with some nice rewards, below you’ll find a step by step of each mission.
Mission 10-1-1 – Where’s The Cactuar?

When the mission starts, the first thing you want to do is double back on yourself.
Go south and then turn left and then follow this round. Here you’ll find yourself a chest that has a potion in it.
Turn back around, head left and go straight on (towards the west). Continue forward until you get to a deadend and then turn left.
There’ll be another chest, this time it contains an Elixir.
Head back to where the mission started. (From the Elixir chest, go up, right and then take the first left. )
Continue straight on, all the way to the top and then turn left. You’ll see a little Cactuar jumping around.
Kill this monster to unlock the next mission.
Monsters you’ll typically see in this mission are;
- Fly Eye
- Raijincho
Mission 10-1-2 – Kactuar?

There are three chests to find in this mission. Turn around and head into the wide open space. You’ll probably start a fight with some monsters, kill them and then go to the rock that’s in the top right.
Behind the rock you’ll find a chest with a Remedy in it.
Turn back round and head back to where the mission started. Continue down and then turn left to head east.
You’ll see a turning on the right, go down here and open the chest to get an AP Up.
Come out of here and continue right towards the east and then take the first left.
Head up all the way to the deadend and then take the turning on the right and finally when you turn left, you’ll see a chest. This chest contains a Cursed Ring which is a pretty handy accessory.
From here go back down and this time turn left, you should see the Cactuar jumping around.
This time when you fight you’ll be fighting three of them. They’re not too hard to beat, try to keep away from their stun.
Once you’ve beaten these, you’ll unlock the 3rd and final mission.
The monsters you’ll typically find in this mission are;
- Raijincho
- Kactuar
- Trap
Mission 10-1-3 – Cactuar Found?

Now it’s time for the 3rd and final Mission of M10-1.
When you start the mission head up and then turn left. Go all the way to the end and open up the chest. You’ll receive a Safety Bit.
Turn back around and go back the way you came.
Take the first left and head up to open the chest that contains an X Potion.
Keep going up, turn right just before the deadend and get a White Cape from the chest.
Go back the way you came past the chest that had the X Potion and turn left. Keep following this around and you’ll again see a Cactuar.
This one is going to be a little harder than the others, however it should still be pretty easy.
Before it dies make sure you’ve healed yourself. It’ll do its 1000 needles ability, which could cause a decent amount of damage.
Monsters you’ll find in this mission are
- Replicon
- Kactuar
- Trap
CONGRATULATIONS!
You now have the Cactuar Summon.
Final Thoughts
There you have it, How to get Cactuar Summon in Crisis Core Reunion. It’s a very easy summon to get and at the same time can cause a lot of damage if you manage to get it on the DMW.
The missions to unlock the Cactuar summon are very easy, they’re 2-3 stars. No matter what your level is, you should be able to finish this line in under 10 minutes..
Hopefully this guide has helped, check out more Crisis Core content below.
-
Final Fantasy 7 Crisis Core Fan Clubs Guide: All Fan Club Locations

-
Crisis Core: Final Fantasy 7 Reunion – Flower Wagon Guide

-
How Many Chapters Are In Crisis Core: Final Fantasy VII Reunion?

-
Materia Fusion Guide: Your Key to Unlocking the Ultimate Power in Crisis Core
-
Crisis Core: Final Fantasy 7 Reunion – How to Break Damage Limit (99999 Damage)

-
How To Get Cactuar Summon In Crisis Core Reunion
-
Final Fantasy VII: Crisis Core Reunion Wutai’s Nemesis Trophy Guide | Wutai Spy Locations
-
Unlock Crisis Core Magic Pot Summon